
Circuit Protection: Flush-fitted consumer units

With the growing trend for mounting consumer units in visible locations around the home, and the industry’s demand for more attractive consumer units, Hamilton Litestat launched its own circuit protection solutions in 2015.
Its latest addition to the product range is its Flush Mounting Kit, which further improves the installation finish.

Hamilton’s contemporary Contour Consumer Unit with its sleek, curved design has proved extremely popular since its launch.
As we continue to see consumer units coming out of cupboards or from under the stairs and being fitted visibly within the house, we’ve developed the Flush Mounting Kit that further improves the finished look.
The Hamilton Flush Mounting Kit allows the Contour Consumer Unit to be installed within the wall cavity so that the cover fits flush with the wall. It gives a streamlined, clean and modern finish with a simple installation process that increases the flexibility of where the unit can be installed.
This step-by-step guide illustrates just how easy the system is to fit.
Step 1

First, mount the Flush Kit to the Contour Consumer Unit: drill out holes 3.3mm in diameter in the Contour Consumer Unit.
Step 2

Secondly, push the Flush Kit frame onto the Contour Consumer Unit from the back, so that it sits flush with the lid.
Step 3
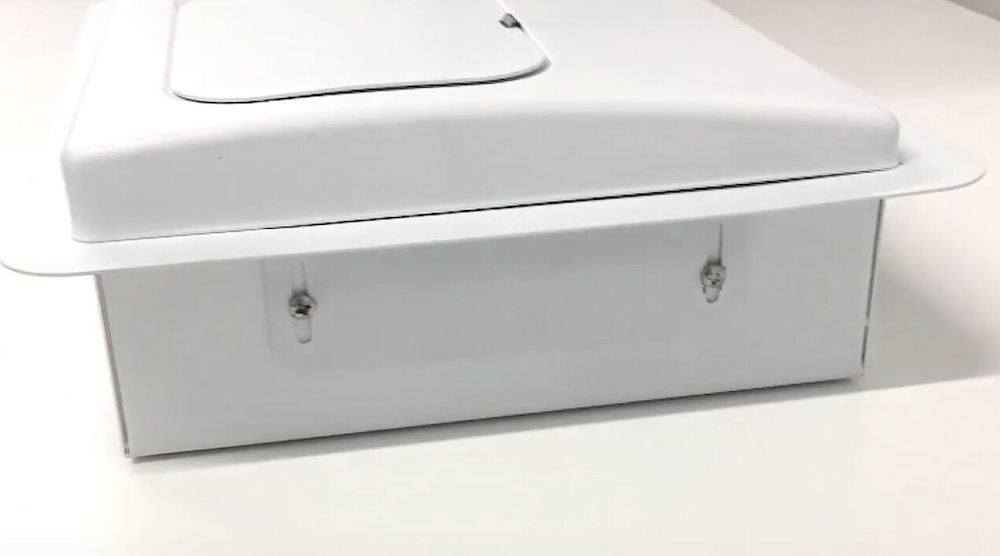
Next, mount the Flush Kit to the frame using the self-tapping screws, which are supplied with the kit.
Step 4
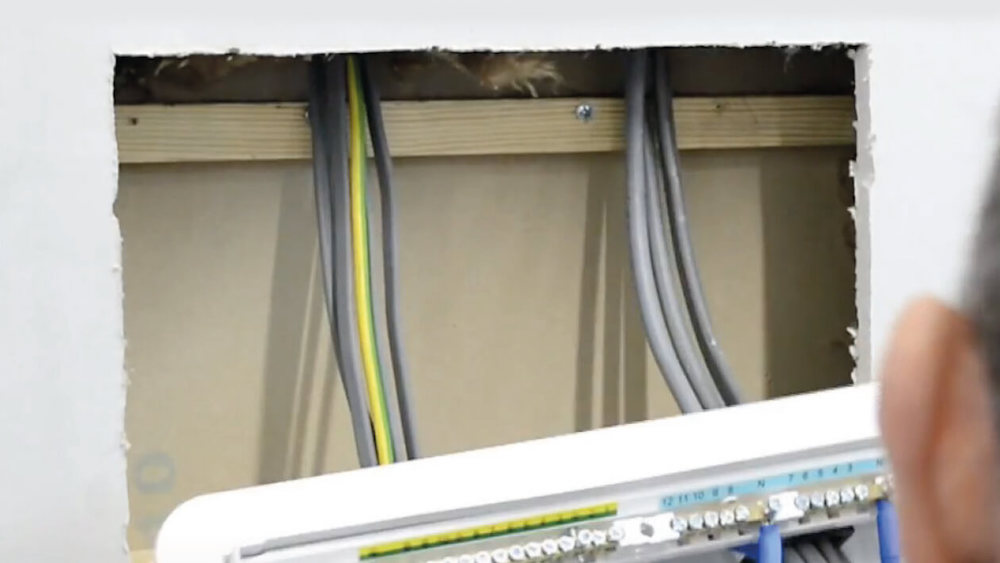
Mount the unit into the wall: insert the required cables through the fire-proof glands.

Step 5
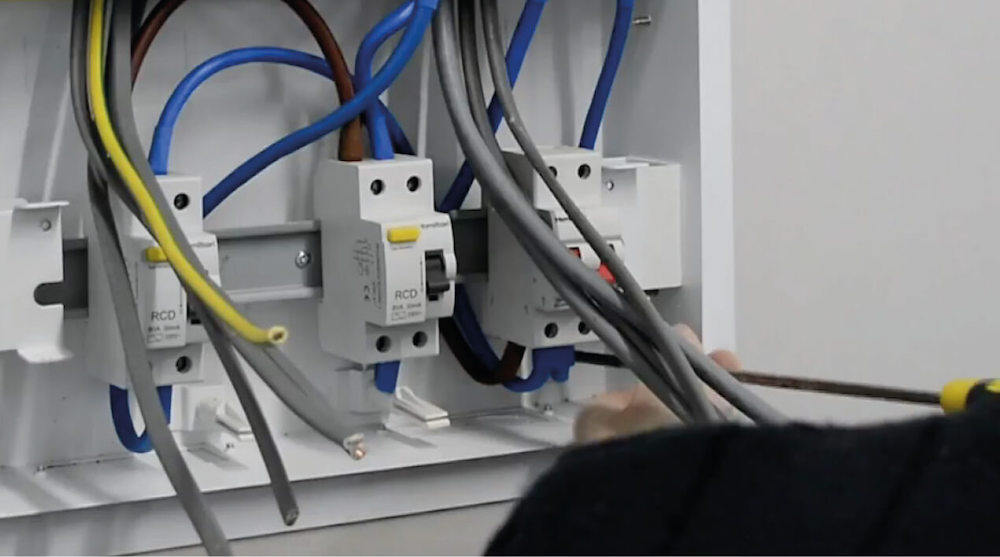
Secure the unit into the opening of the stud wall, screwing the back of the Contour Consumer Unit in place.
Step 6
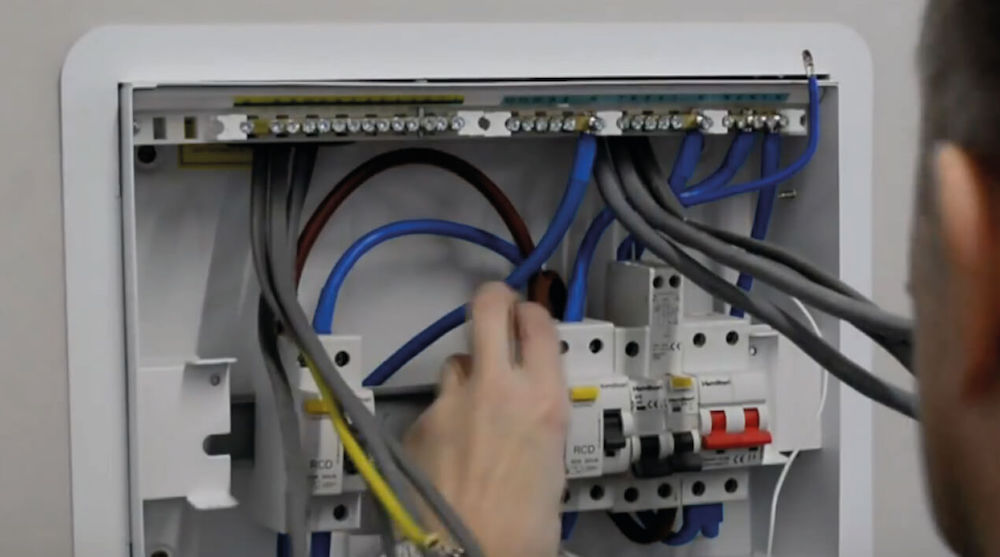
Populate the board and finalise the wiring installation.
Step 7
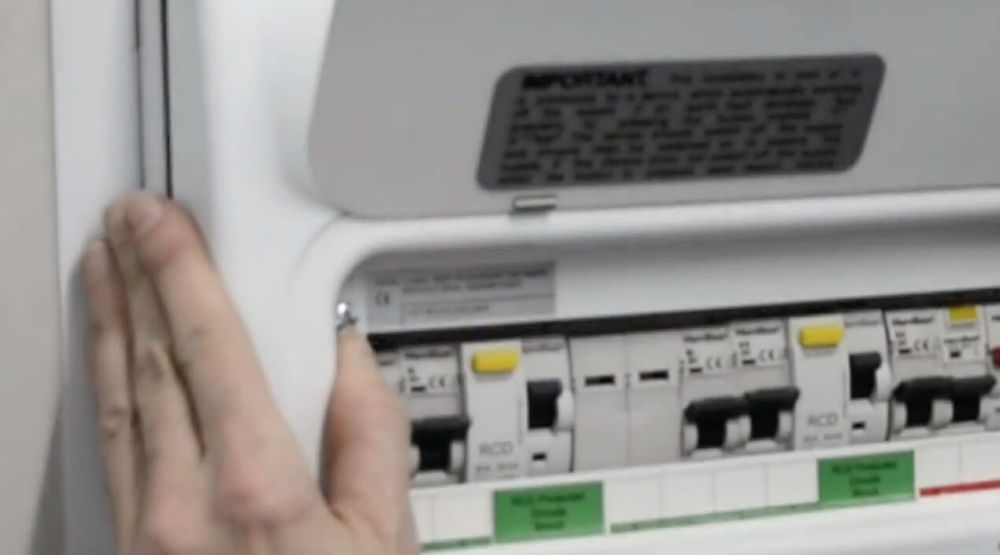
Finally, affix the Contour Consumer Unit cover.

Watch the quick guide video here:
Should you have any questions along the way, Hamilton’s Technical Support Team is only a call away. If you’d like face-to-face help on any of Hamilton’s products, free training sessions are available.
Visit www.hamilton-litestat.com for information and book by emailing technical@hamilton-litestat.com.